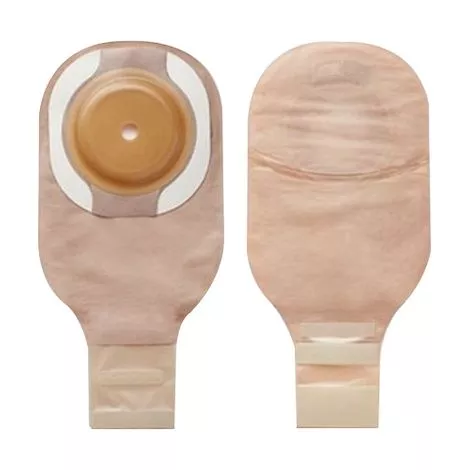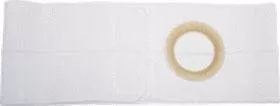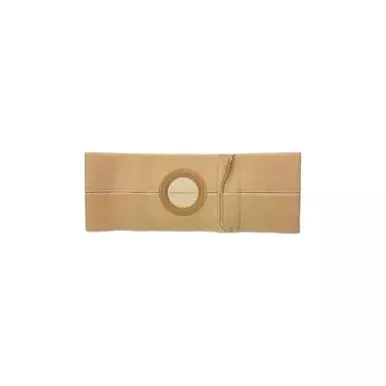
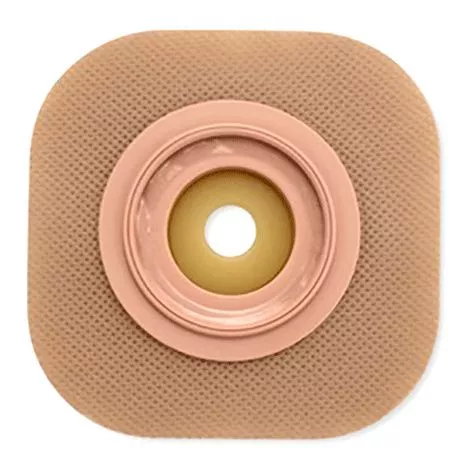
Hollister New Image Convex CeraPlus Skin Barrier Features
- CeraPlus (extended wear) skin barrier, convex
- Without Tape Border
- Cut-to-fit
- Not made with natural rubber latex
What to buy with New Image CeraPlus Skin Barrier?
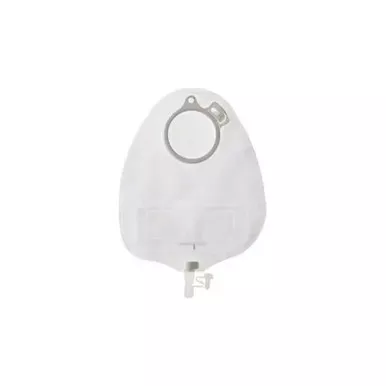
- Karaya 5 One-Piece Standard Convex Pre-Cut Transparent Drainable Pouch
- Coloplast Alpine Fresh Appliance Cleaner
- Cardinal Health Personal Cleansing Cloth
How to Apply New Image Convex CeraPlus Skin Barrier?
Collect Supplies:
| Gather ostomy pouch, skin barrier, disposal bag, tissue and/ or cloth for cleaning, and water. Optional: scissors, pen, measuring card, and/or accessories. |
Prepare the Skin Barrier and Pouch:
| 1. Measure the stoma using a stoma measuring guide before every barrier application (if using a pre-sized barrier opening, go to step 4). | ||
| 2. Trace the determined barrier size opening onto the skin barrier. The skin barrier should fit where the skin and stoma meet. Verify that no skin is showing between the skin barrier and the stoma to help prevent leakage and skin irritation. | ||
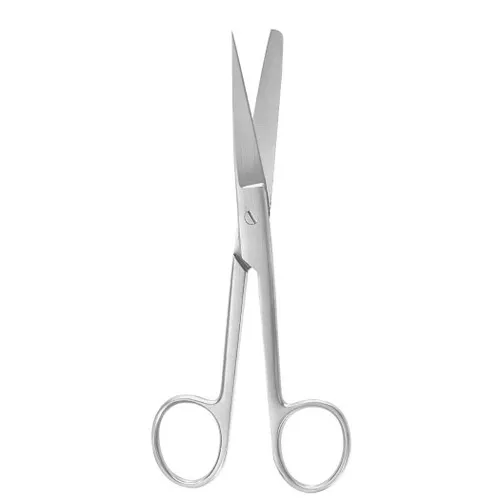
| 3. Using small curved scissors, carefully cut an opening in the skin barrier to match the pattern. Do not cut beyond the line on the release liner. | ||
| 4. Remove the release liner from the skin barrier. Set aside with adhesive facing up. | ||
| 5. Close bottom of pouch. If using a Hollister New Image Two-Piece drainable pouch, close the Lock N Roll microseal closure at the bottom of the pouch or apply a pouch clamp. Refer to the Lock N Roll Microseal Closure Care Tip for more information on how to use this closure system. | ||
| 6.If using a urostomy pouch, make sure the drain valve is closed. The teardrop on the drain valve should face the body side of the pouch. If desired, apply the cap provided in the box. |
Remove Used Pouching System:
| Carefully lift an edge of the adhesive and peel downward, gently pushing the skin away from the skin barrier. Properly dispose of used pouch and skin barrier. Do not flush down toilet. |
Clean and Dry Skin:
| Clean the skin with water or with gentle soap as recommended by your healthcare professional. Rinse and dry thoroughly. Do not use oils, powder, lotion, or lotion-type soaps on the skin. |
Apply the New Pouching System:
| 1. Center the skin barrier opening over the stoma in a diamond shape. For tape bordered barriers, remove the backing paper on both sides and press adhesive against the skin. | ||
| 2. Apply gentle pressure to the skin barrier for about a minute for best adhesion. | ||
| 3. Attach the drainable ostomy pouch to the skin barrier by engaging the lower edges of the pouch flange and the skin barrier flange. Press the two flanges together. A series of “clicks” will confirm you are doing it correctly. No more “clicks” means the pouch is secured. |
Usage Tips:
- If using a barrier ring or paste, apply it to the sticky side of the skin barrier next to the stoma opening as directed
- The skin around your stoma should not show any signs of rash or sores
- Irritated skin should be evaluated by a healthcare professional
- Your stoma will probably be swollen after surgery. It may take several weeks or months for the stoma to shrink to its permanent size.
- The stoma may bleed slightly when you clean it.
- The use of skin protective wipes are not recommended under extended wear skin barriers as they may decrease wear time.