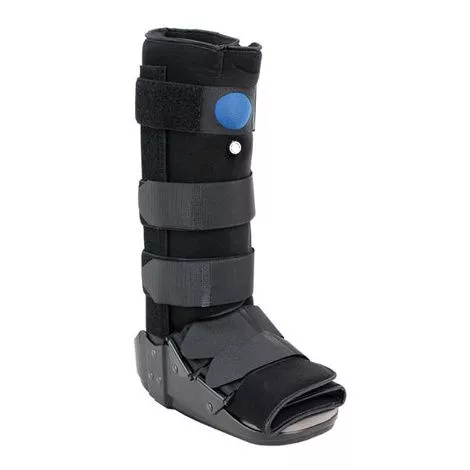
More Information
- Sizing:Â Measure according to shoe size
- How to Apply:
– Remove the liner from the brace
– The air bladder is inside the liner
– DO NOT inflate the bladder at this time
– Wrap the liner around the patient leg and foot
– Ensure the heel fits snugly into the portion first followed by the calf portion
– The wrap should fit snug, but not too tight
Note:Â It may be necessary to adjust the fit of the wrap if swelling or edema decreases during the healing process
– Attach one end of the straps onto outside of the struts
– In a seated position spread the side uprights of the brace and have the patient step into the boot
– The foot should be positioned flat with the heel in back of the boot
– Affix the uprights to the liner
– The uprights should be positioned parallel to the leg
– Close the straps starting at the toes and working up the leg
– Adjust the straps if necessary
Note: The high height walker has three top straps, whereas the low version has one top strap - Care:
-Â To clean, simply wipe with a damp cloth
– DO NOT submerge the liner in water, this could affect the functioning of the air bladder
– Air dry away from heat
– Do not machine wash or dry
– Do not bleach
– Spot clean the brace with a damp cloth if needed - Caution:
-Â Wear as recommended
– Always consult a physician when encountering persistent pain, discomfort, inflammation, or swelling
– The air bladder can now be inflated to provide a customized fit
– To inflate, use the hand bulb by attaching to the valve/tubing in the front of the liner
– Squeeze the hand bulb repeatedly to inflate
– Inflate until the support feels stable with gentle cushioning but not too tight
Note: DO NOT OVER INFLATE
– Only inflated to a comfortable level
– Instruct the patient to check circulation to ensure not too tight
– Air may be released from the bladder if needed
– To release air, insert the bulb in engage the valve and squeeze the liner to deflate
– If slight air loss is experienced with extended wear, simply re-inflate following instructions