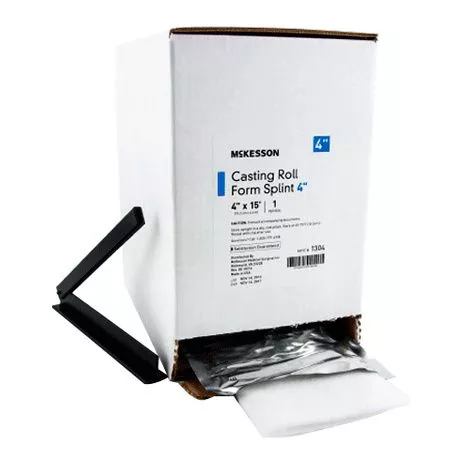
McKesson Casting Roll Form Splints Features
- Minimal water needed to activate
- No wrong side application
- Double-sided, stretchable polypropylene padding
- Padding can be easily opened to cut for a custom fit
- Center stitching of seven layers of fiberglass to maximize lamination
- Cost effective; cuts to exact length needed, eliminating waste
- Resealable clip helps preserve product between uses
Casting Roll Form Splints Brochure
Casting Roll Form Splints Instructions for Use
Frequently Bought Together
- Rolyan Palm Protector
- Benik W206 Wrist/Thumb Wraps
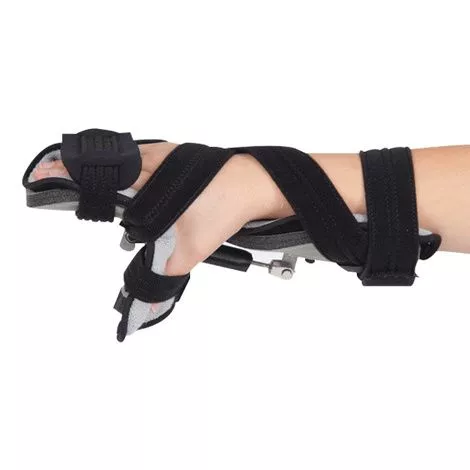
- Rolyan Carve-It Hand Positioning Orthosis
Usage Instructions
- Measure patient for desired length. Select the desired width of the cast roll form splint.
- Pull the estimated length needed from the dispenser and cut.
- Use the resealing clip to seal material remaining in the dispenser box.
a. Push inner splint material several inches back into protective foil
b. Apply resealing clip to foil making sure protective foil is smoothly flattened within the clip
c. Seal by pushing the clip down tightly over the foil. - Remove cut splint from protective foil and discard foil.
a. Pull polyurethane padding beyond exposed fiberglass edges (both ends; top and bottom) - To activate the setting process, wet the center of the side of the splint with a 1” bead of cool water (65-75˚F / 18-24˚C) from either a water bottle or a faucet.
- Work the water throughout the splint by folding and squeezing (avoid wringing or twisting). This will remove most of the excess water.
- Roll damp splint in a towel and squeeze to remove additional moisture. Repeat as needed until padding is virtually dry.
- Smooth out splint and place on patient. Wrap with elastic bandage and mold to patient’s limb for 2-4 minutes.
- Initial set time is approximately 3-5 minutes with the splint gaining more strength over the next 20 minutes.
- Monitor patient according to standard procedures.